Hey there, we just wanted to take a moment to talk to you about the Big Fig Mattress adjustable base. If you've just received yours, or are thinking about purchasing one, we highly recommend taking a few minutes to watch our assembly video.
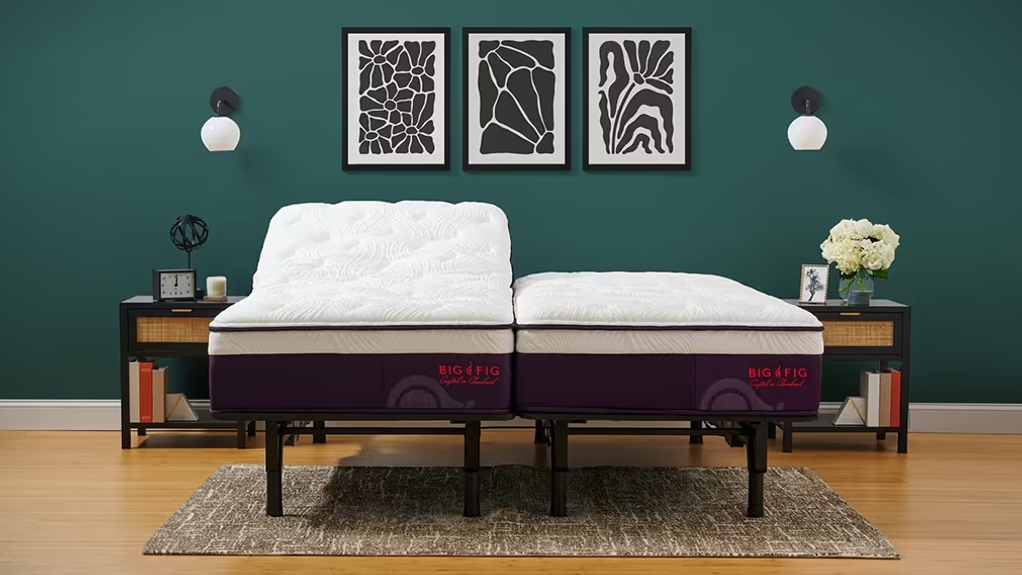
We've designed this super durable adjustable base to support your Big Fig Mattress and you. With two heavy-duty motors offering a combined capacity of 1,250 pounds, we've created a base that's twice as strong as the competition. And while that’s impressive, assembling it shouldn’t be scary!
We know that putting together a new piece of furniture can be daunting, especially if you're not particularly handy. That's why we think the video is so helpful. It's clear, concise, and easy to follow. Plus, it’s less than 2 minutes long. (We can’t promise you’ll actually be able to assembly the adjustable base that quickly though…sorry)
The instructions for our heavy-duty adjustable base are broken down step-by-step, and even include close-up shots so you can see exactly what you're supposed to be doing. However, if you still have questions Big Fig’s customer support team is always here to help you out. You can reach them at Sleepwell@bigfigmattress.com or by giving us a call at the phone number on our contact us page.
How to Put Together an Adjustable Base
Open the package to your adjustable base and check for all of its contents. Once all of the pieces are laid out, follow this step by step guide to put together your base.
Step 1: Prepare the Frame Components
- Lay all frame parts (side rails and crossbars) flat on the ground.
- Use the labels on the side rails to determine proper orientation.
Step 2: Install the Legs
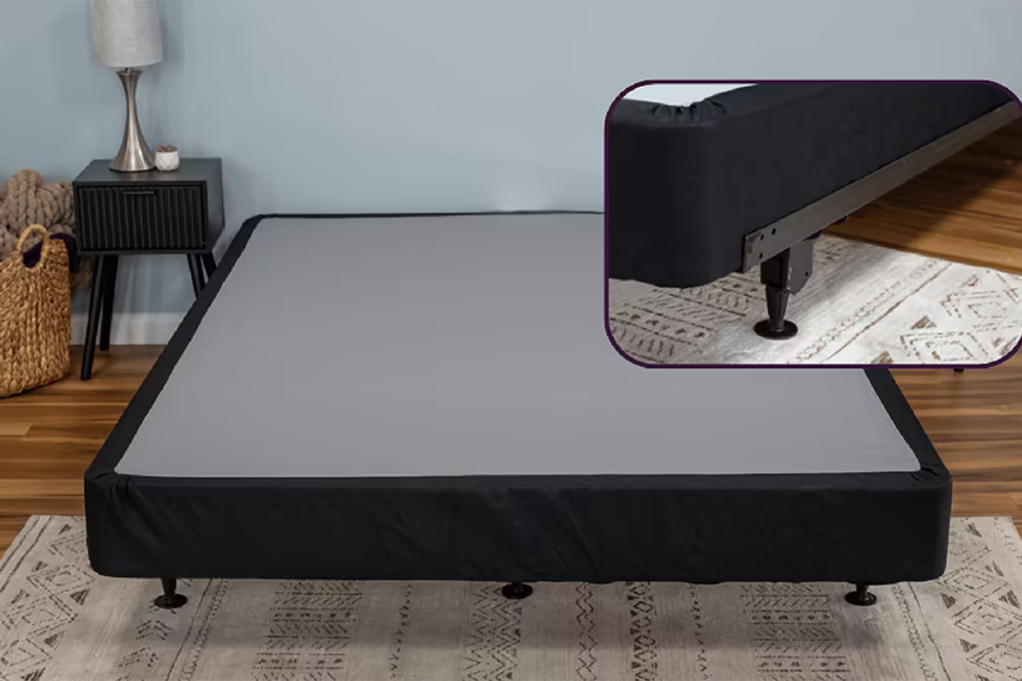
- Choose your preferred leg height. The legs can be set to three different heights.
- IMPORTANT NOTE: Hand tighten all leg segments before moving to the next step. The rubber bottom should remain at the base regardless of which height you choose.
- Insert the legs into the side rails and twist until hand tight.
Step 3: Remove strapping tape and connect crossbars
- Attach both crossbars directly to the side rails.
- Make sure the bolts go through the holes at the ends of the crossbars and are tightened securely.
Split King Setup (Twin XL frames):
- Place the split-king connector between the two Twin XL frames, aligning the holes.
- Position the crossbars so they sit on top of the connector and attach to the side rails.
- Insert the crossbar knobs through both the crossbar and connector. Make sure the bolts go through the holes at the ends of the crossbars and are tightened securely.
Step 4: Connecting the Cables
- Plug in all cables, making sure each plug is oriented correctly and fully inserted..
Step 5: Install the control box
- Lay the base platform with the net facing up.
- Place the control box securely inside the net.
Step 6: Attach the base platform
Flip the base platform over and center it on the frame.
- Insert screws and turn until hand tight.
Step 7: Add the inner platforms
- Place the inner platforms on either side of the base platform.
- Insert screws and turn until hand tight.
Step 8: Attach the Head and Foot Platforms
- Make sure the head and foot platforms are correctly placed:
- The Foot platform will have slots for the retainer bar.
- Insert screws and turn until hand tight.
Step 9: Install the Retainer Bar and Power Connections
- Push the retainer bar into the slots until it clicks into place.
- Connect the power cables to the power converter.
Final Steps Before Use
1. Place the mattress on the base.
2. Plug the power converter into a wall outlet.
3. Insert batteries into your remote.
4. Press any button to pair the remote with the base