

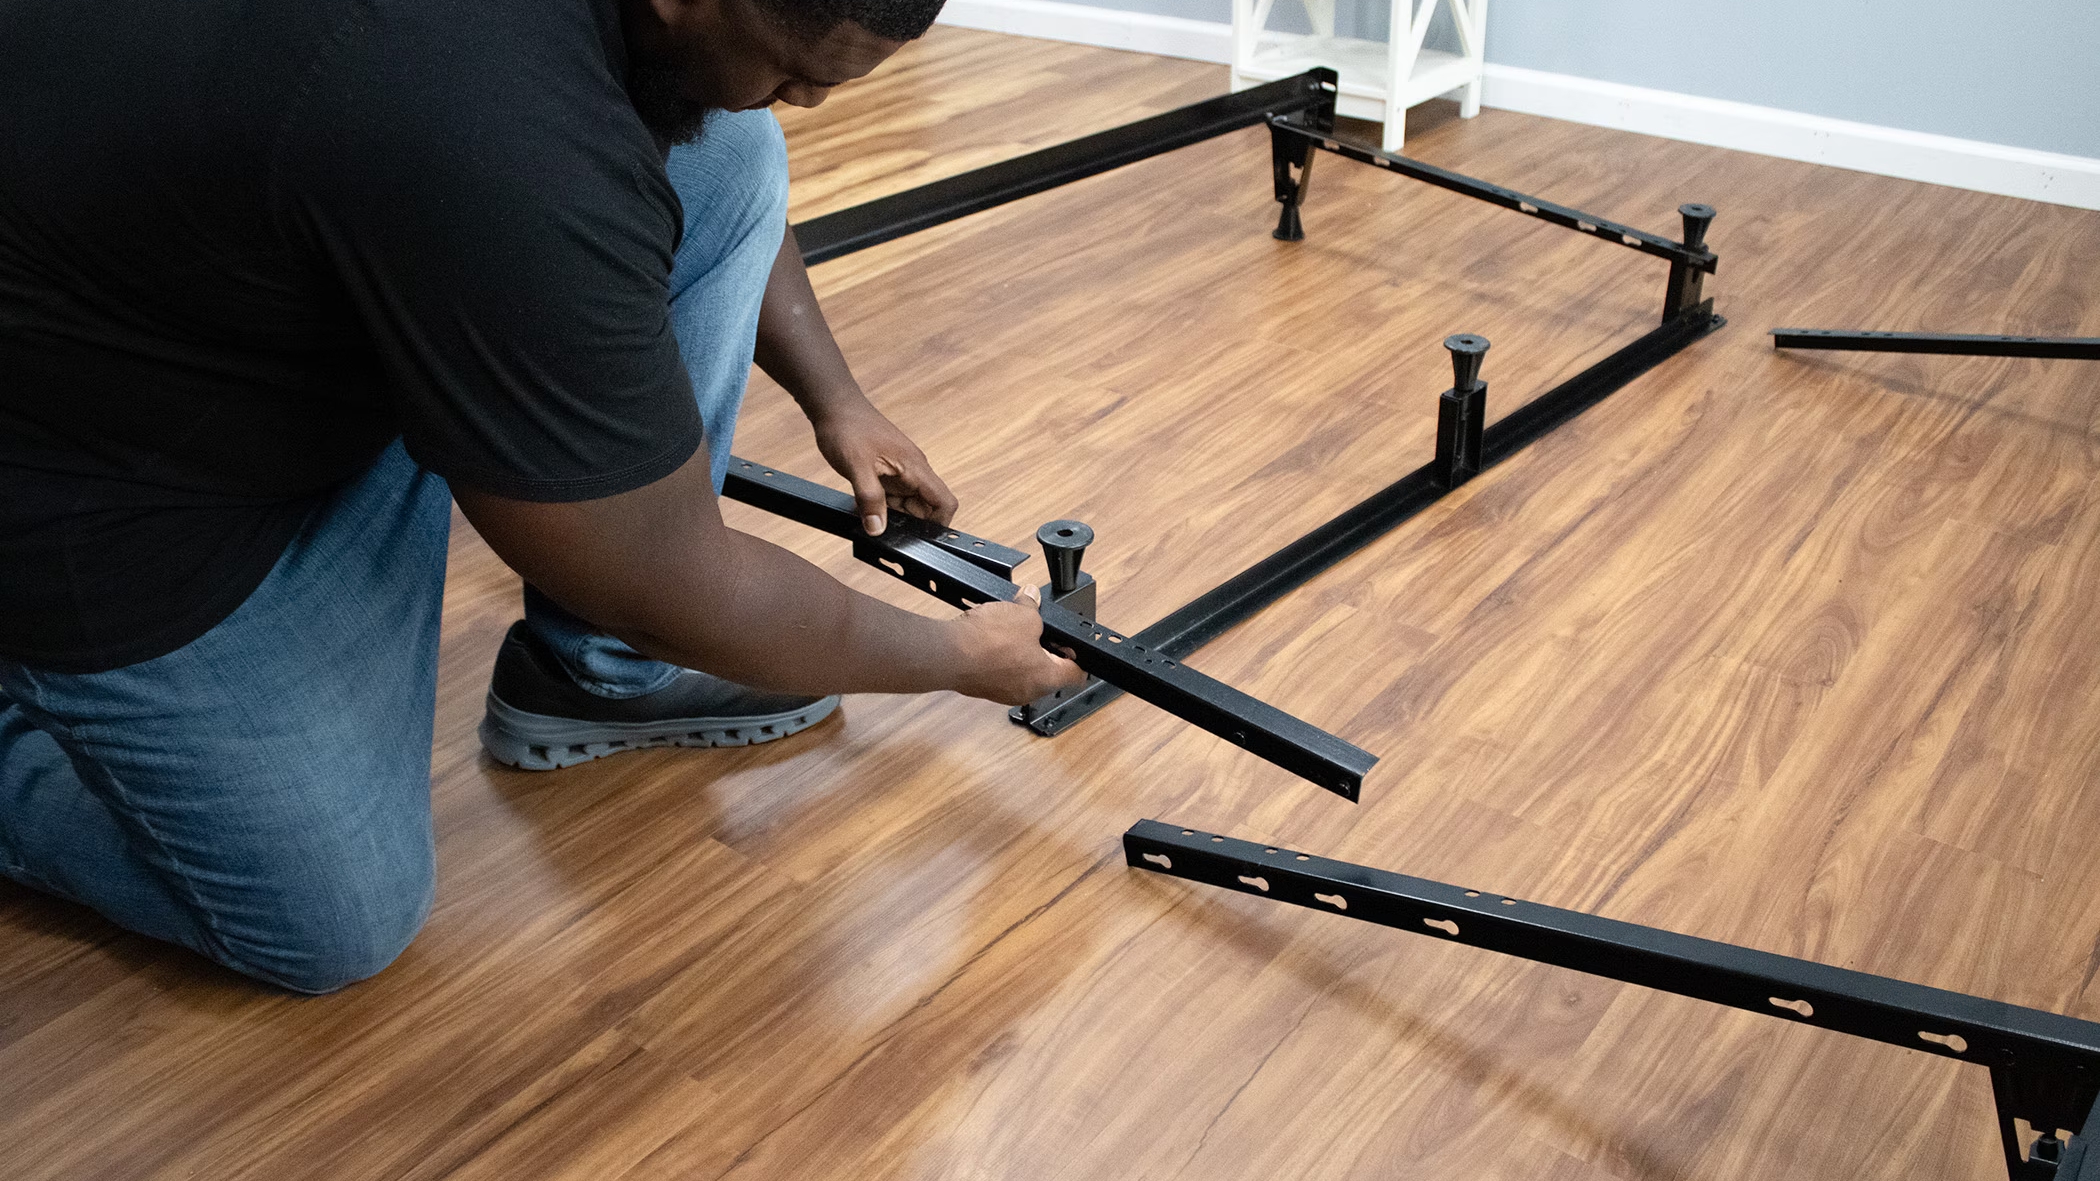
Like our Big Fig Mattress and Foundation, we’ve made bed frame assembly easy by providing you with quick and easy assembly and step-by-step instructions that will have you taking a snooze cruise in no time. So, make some space and get ready to start building a bed that dreams are made of.
Bed Frame Parts:
- 2 side rails
- 1 all side center rail
- 2 king expander bars (for King and Cal King sizes only)
- 7 bushing with glide and stems
- 4 locking plugs
- 4 bolts
- 2 plastic end caps
Unboxing Your Bed Frame
Step 1. For easy assembly of your bed frame, move the box to the room where you’ll use it.
Step 2. Take inventory to ensure you have all of the parts before getting started.
Bed Frame Assembly Instructions
This is the Big Fig Bed Frame assembly tutorial!
To Assemble Twin, Full or Queen Size
The King Expander Bar will NOT be used. Center support must be installed.
Step 1: Unbox your bed frame
Place the two side rails parallel to each other with the headboard brackets facing the same direction. Place the All-Size Center Rail between the side rails
Step 2: Open your Frame Rails
Swing the four frame arms out to a 90° position on both side rails. Align the frame arm rivets with the keyhole slots for your desired bed size.
Step 3: Connect the Frame Rails
Slide the rivets into the keyhole slots until the frame arms overlap and the two center holes are aligned. Repeat on the opposite side.
Step 4: Locking Plugs
Insert the 2 locking plugs into the frame arm holes to prevent the frame arms from disengaging.
Step 5: Bushing & Glide Stems
Insert each of the 4 corner leg holes. Repeat to install the 3 bushings and glide stems in the center support legs.
Step 6: Attach All-Size Center Rail
Position the All-Size Center Rail underneath the two center holes of the connected frame arms. Insert & tighten the bolts. This is where you will need the Phillips screwdriver.
Step 7: Plastic End Caps
Attach the 2 Plastic End Caps to the foot end of the side rails.
To Assemble King and Cal King Sizes
Follow Steps 1–2 on front, then complete the following:
Step 3: Add King Expander Bar
Align the keyhole slots on the King Expander Bars with the rivets on the frame arms for your desired bed size. Slide the pieces together until the rivets are fully seated in the keyhole slots.
Step 4: Locking Plugs
Insert the 4 locking plugs into the King Expander Bars and frame arms to prevent the connected pieces from disengaging.
Then continue with steps 5–7 above.
Your bed frame is now ready for use.
Note: A foundation or box spring is required for use.
Do you still have questions? We’ve got you! Contact us by phone, chat, or email.
If you’re more of a visual learner, check out our Assembly video here.